My course (referred to in my earliest post) has now finished and I didn't have time to write up my journal online as I had envisaged. I have ended up with lots of random notes on using Photoshop, so perhaps the best thing to do is to write a few of them up now, so that I don't lose them.
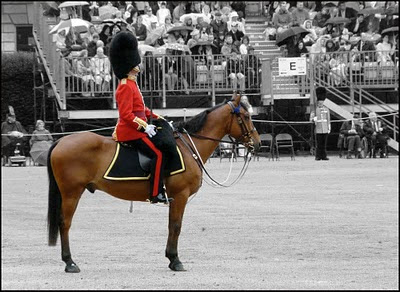
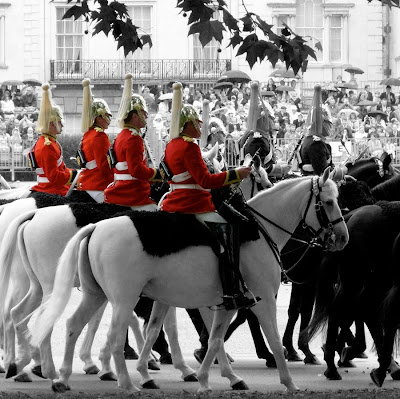
One of the simplest (but very effective) techniques is spot-colour or colour-popping - making an image monochrome and then bringing back selected parts of the colour image. I tried it on this image of guards at the recent Trooping the Colour rehearsal in London's Horse Guards Parade.
 In Photoshop, first I cropped it, then I made a background copy and, using the monochrome button on the Adjustments Channel Mixer, converted it to a black & white image. My notes then say to select a brush and, making sure the black is on top (on the black & white squares, on the RH side in the tools list), use the brush to erase the top layer to reveal the colour underneath. This only seems to work if you do the monochrome adjustment as an adjustment layer. Otherwise, it just paints black on the picture! In which case, the alternative is to use the eraser tool and rub away the black & white layer to reveal the colour underneath.
It's easiest if you enlarge the picture and use the right sized softish brush. The advantage of using the brush (as opposed to the eraser tool) is that you can correct mistakes simply by swapping the white square to the top - with the eraser tool you don't seem to be able to correct mistakes except by 'stepping backwards'.
Anyway, it gives (in my opinion) a pleasing effect that makes the colour stand out.
