Armed with some sustainable
Organic Cotton Fleece and
Bamboo fabric I decided to take the challenge of making my own organic sweater for the winter.
Organic clothing can be really pricey, most times far out of the range most people want to spend and when it comes to organic cotton winter wear it's even worse...although worth the $$$ to those with sensitive skin, chem sensitivities or eco minded ethics, sometimes we just can't pay $100 to stay warm.
This is why DIY sewing skillz can be
a big money saver, not to mention a lil' creative fun. I am not the best at sewing to be honest, each project is a lesson...
so here is what I learned & how I did it....

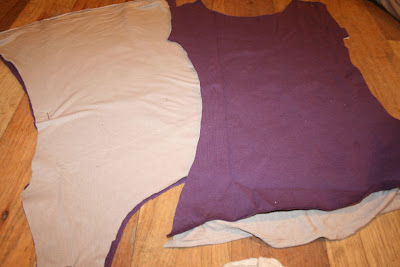
I took a shirt I made a few years ago, and used it to make a new pattern.
When making a pattern from a garment you already own here are two important tips:
- Make sure to trace extra room at all the seams where you will be sewing (see pic below)
- Check for differences in the fabric, like stretch vs. not so stretchy and adjust accordingly

Once you trace your pattern cut it out with scissors.

I cut out the body part and the sleeves separate, because I planned on sewing them together later.
 THE HOODY ::::
Making a hoody is actually super easy, like making a basic pillow!
Trace a hoody you already have, which will make a pattern for one side of the hoody. Both sides will match and be sewn together.

You can always test the paper pattern on your head to make sure it will fit, and to see how long the neck part may need to be to meet the back of your sweater.

Lay out all your pieces on the fabric and make sure you have enough. I ended up not having enough purple
organic cotton fleece for the hoody and used more
bamboo fabric instead.

To make cutting out the pattern you made easier, pin it down to the fabric. I totally hate this part for some reason and always try to find ways to get out of it... but it never turns out right without those pins holding it right in place.

Once the pins are in, you can cut out the fabric pieces that will be sewn together.
I doubled the fabric so that I could cut out the back and front of the sweater all together.

I then took my sweater cut outs, and pinned them to the
bamboo fabric I wanted to use as a warm smooth lining
inside the
organic cotton sweater.

 TIME TO SEW ::::
I made the sleeves separate, and after sewing together the seams for the body part of the sweater, i added on the sleeves.

I did a tight zig zag stitch on the outside of the sweater so that it could have that cute handmade look.

The hoody got cut out and sewn on last....
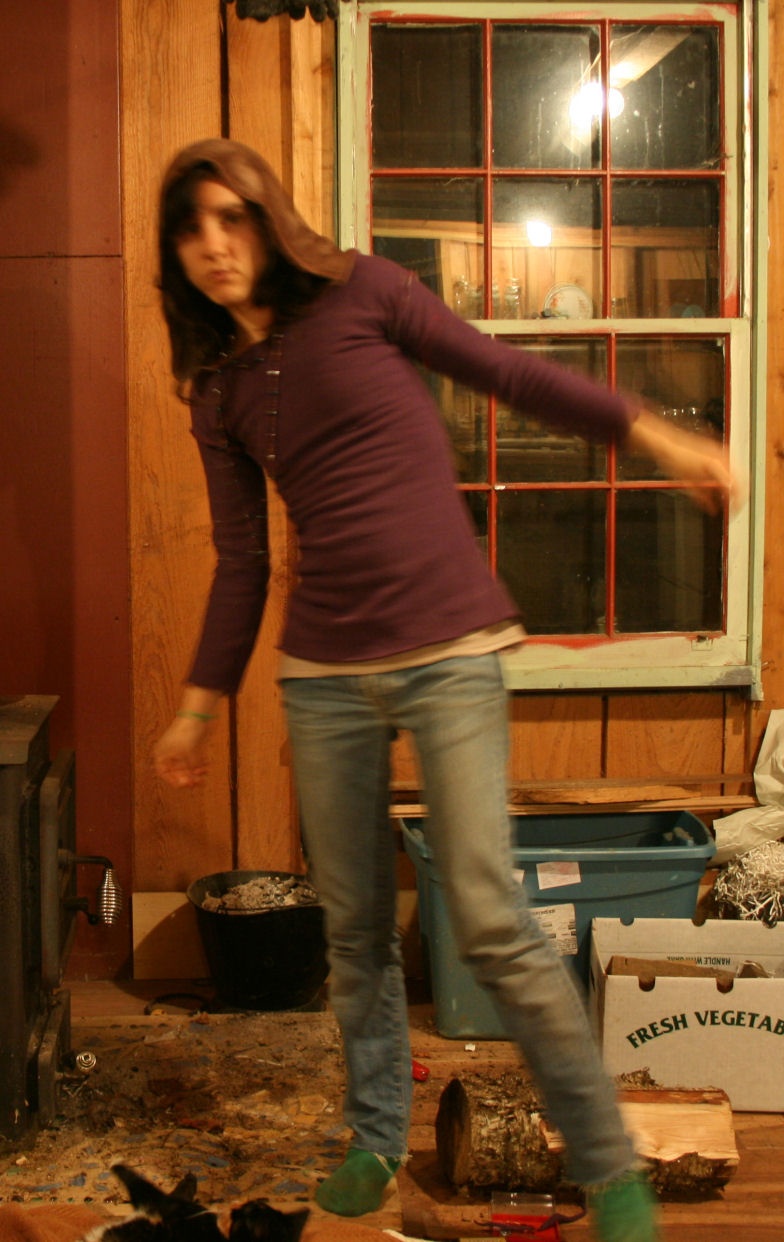
 END RESULT #1 ::::
The sweater is SO amazingly soft and warm, but was feeling a little tight because the fleece didn't have much stretch... (some organic cotton does and some doesn't, bamboo typically stretches.)

I could have taken out the inner seams and loosened it up, but then i got another idea!!!
 NEW IDEA! :::::
I cut down the entire front of the sweater and sewed some zig zag seams along those sides to hold in the
bamboo lining.
Then I took the bone awl
Urban Scout made me (see pic below) to punch holes evenly along those seams.

I used the
bamboo lining scraps to create a corset, lace up front for the sweater that way the size could adjust with my needs.

ADorabLe & SeXy!! It has a hardcore fairy feel to it now, and I like it even better. :)))
 END RESULT #2 :::
Yes? Yes!
 Xoxoxoxoxoxo
*
FABRICS BY :
Near Sea Naturals (who now carry Spiritex local organic cotton), see more.
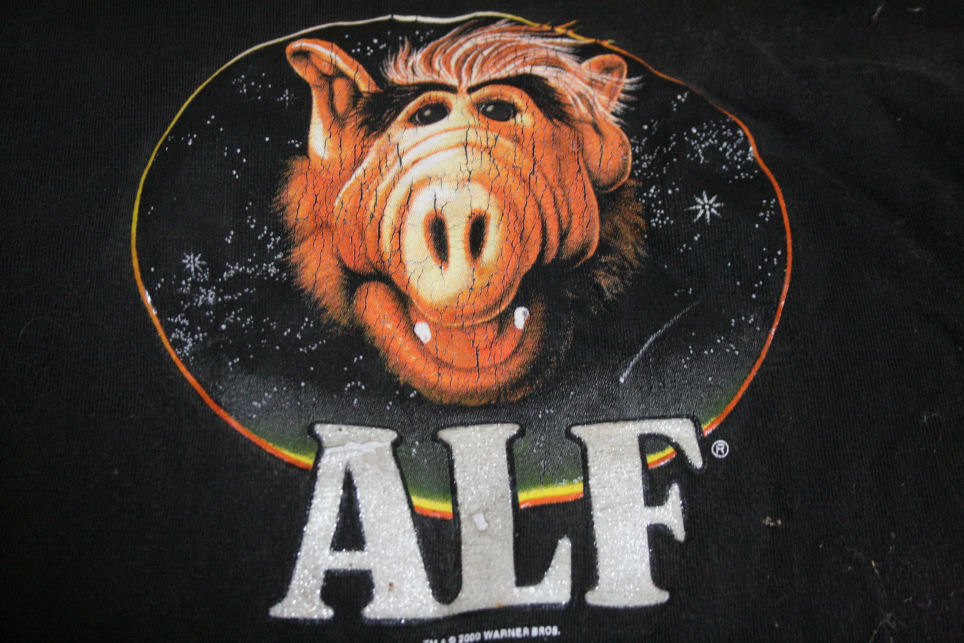 Yeah, ya read it right... ALF! ha ha ha.
 THE BEGINNING:::
 I had folded the fabric over, so that the front and back would be cut at the same time. I like efficiency... :)))
 I left the pattern pinned on while I sewed in the seams along the edge... then unpinned the pattern.
 I love making things adjustable! So I made the top of the 'sleeves' or straps the kind you can tie to any size....
 Once the organic dress was sewn together, it was time for ALF!!!
 CAREFULLY pin your logo on, you want it really flat and even so that it doesn't wrinkle or bunch up the front of the shirt or dress or hoody or whatevs you may be sewing it on...
 Then SEW! I used the basic straight stitch and slowly went around the circle of Alfness...
 ALF HYSTERIA:::::
 You can wear it with or without a shirt underneath... summer time, or fall time...
 You can wear it with or without a shirt underneath... summer time, or fall time...