Showing posts with label organic fabric. Show all posts

Sunday, November 14, 2010

Eco DIY: Organic Cotton "Alf" Dress

Yeah, ya read it right... ALF! ha ha ha.
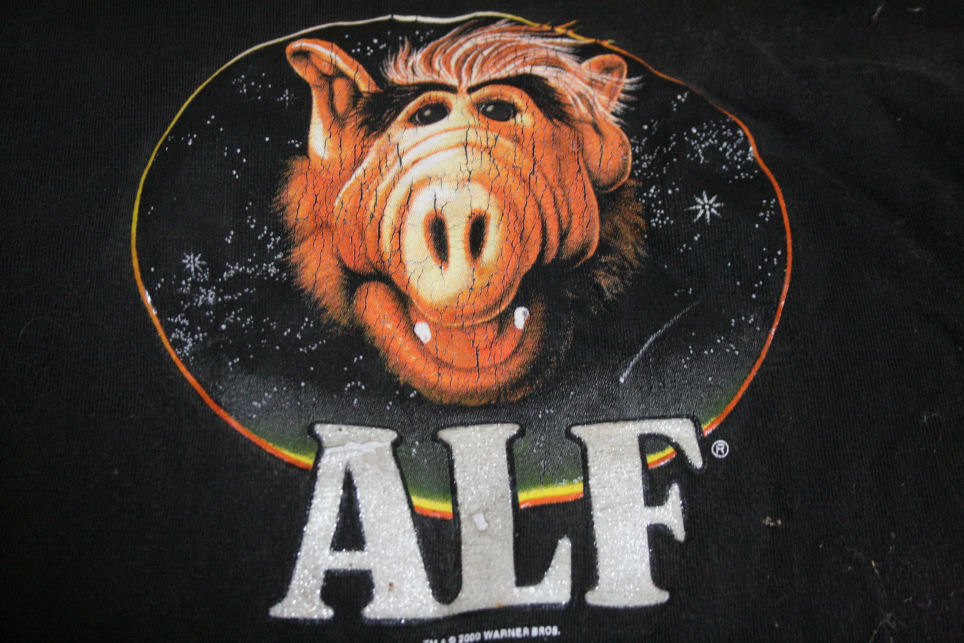
This sewing project is more of a minor upcycle deal, see ya' don't need "Alf" to make this dress...(even though you might think you do!) All you need is an old t-shirt that is nasty, doesn't fit, etc from your closet, grandmaws closet or the thrift store... a t-shirt with a whimsical logo that can be cut out and re-sewn onto a new outfit. I put mine on an organic cotton dress I made from some locally woven fabric. But you could do this with a hoody and put the old logo/character on the back.
THE BEGINNING:::
I pinned down my dress pattern on the fabric, which was the pattern I traced from another dress I already had.
And then chop chop! Cut out the fabric, leaving enough room for the side seams.
I had folded the fabric over, so that the front and back would be cut at the same time. I like efficiency... :)))
I left the pattern pinned on while I sewed in the seams along the edge... then unpinned the pattern.
I love making things adjustable! So I made the top of the 'sleeves' or straps the kind you can tie to any size....
Once the organic dress was sewn together, it was time for ALF!!!
CAREFULLY pin your logo on, you want it really flat and even so that it doesn't wrinkle or bunch up the front of the shirt or dress or hoody or whatevs you may be sewing it on...
Then SEW! I used the basic straight stitch and slowly went around the circle of Alfness...
ALF HYSTERIA:::::
hysterical? lovable? weird? so was Alf.
You can wear it with or without a shirt underneath... summer time, or fall time...
party time?!? WWAD ? ;)

XOXOXOxox

Thursday, November 11, 2010

Eco DIY: Bamboo Ruffle Butt Party Dress

Ruffle BUTT! You can never accentuate your ASSet too much, that's why music makes you want to shake it. I saw a dress like this on Etsy but not only was it too expensive for my personal pocketbook but it didn't come in a sustainable fabric in the color purple. (Purple is my favorite color!) I got some stretchy purple bamboo fabric online, and got to sewing this booty jiggle gem.
STEP 1::
I used a tight stretchy sleeveless dress to trace a pattern... it's important that if you trace another piece of clothing for a pattern, that the fabric you are about to sew with has the same properties of stretch or no stretch. I used the heavy book trick (thanks to reader Liberty for the idea!) to hold the paper real flat.
STEP 2::
Lay your pattern on the fabric. I used pins to make sure it was tight. The fabric was doubled, with the fold at the top shoulder... that way I could cut the front and back out at the same time and the shoulders would already be connected without having to sew them.
STEP 3::
SEW. I sewed seams up the left and right side, leaving holes for the arms, where the sleeves were to go. I also hemmed the edges in the back, front and bottom. I was too lazy to take the pins off the pattern paper, and then put them back on again, so i sewed right outside the paper line for the seam, then removed the pattern.
Step 4::::
SLEEVES::::
Why are sleeves so mysterious?? I don't think I ever do them the same twice, every time I am just shooting chance to the sky hoping a sleeve will work.
This time i took the arm hole existing and drew a sleeve that would accurately connect to it. It was a free hand experiment, with no measurements.
I cut out the arm pattern, then doubled the fabric twice to cut all the arm pieces out at once.
Then I sewed the sleeves on, just right on top the hole.
*
I took the scrap fabric pieces from cutting out the body pattern for the ruffle on the butt. I centered the first one and then just crinkled them up and sewed a seam across the top of each crunched, scrunched layer...
THE END::::::::::
Tight and comfy and ruffley- I am going to wear this all day. :)
YAY! Makes me want to DANCE...!
Xoxoxox

Saturday, October 30, 2010

EcoWeen: DIY Native American Costume

It's Halloween weekend! YAY! Being that I was raised in the Mardi Gras culture down in New Orleans, I get really into costume making, probably more then any other kind of sewing project. Back home Halloween is almost like a mini Mardi Gras and the costumes are always elaborate, lovable, amazing, hysterical and just plain wrong. It's a bar raised too high & it's hard to live up to... but I try.
*
This year I decided to make a Native American costume (I am part native american) with a lil' Clan Of the Cave Bear flare (cause I just finished reading the whole entire book series!), but mainly I chose this genre because I have been collecting feathers from my chickens, rooster, the wild turkeys, and a few brightly colored ones given to by my awesome friend Heather....

THE HEAD PIECE ::::
I started making the head-dress first because that was going to be where most the feathers would go and I was excited to use them! I did not use any kind of glue, tape or toxic products to get my feathers to stay in place. I decided to sew them directly (and carefully) to strips of black organic cotton fabric (locally made here in north carolina!)
I attached a small jaw bone to the center front, and hung more feathers and beads from strings that reach all the way past my shoulders. (Gives it major dramatic style!) The construction is really simple, and just ties in the back of the head.
THE DRESS ::::
The first thing I did to make the body or dress part of the costume was to trace a shirt I already owned and fit me well onto some paper, in order to make a pattern. I drew (freestyle) the bottom half of the dress and then cut out the full pattern...
This is the pattern without the sleeves ( you can make it with or without sleeves.) I planned on adding in sleeves because I knew the weather here in the mountains would be cold for Halloween.
I pinned the pattern onto the velveteen bamboo fabric and cut out the back side of the costume...
This is the tedious part:::: I then CUT the pattern into three panels to make the design for the FRONT of the dress.
Each panel will be sewn back together, but I cut them separately in order to tighten up the bodice in the front.
These are all the pieces that need to be sewn together (pic below). I used more black organic cotton fabric as the strips along the front bamboo fabric bodice.
TIME TO SEW::::
I put all the pieces together and then cut out some black organic cotton arm bands to tie onto the sleeves. They are removable and I made it fringed by cutting strips into the fabric and pulling each fringe piece tight.
I also cut fringe strips into the bamboo dress at the bottom of the long sleeves, and at the bottom hemline of the dress!
DECORATION::::
You can never have enough. Period.
Once I got started with the feathers, beads and (real) bones it was hard to stop.
In fact, my cabin looked totally trashed by the time I was done with making this costume!!!!
THE END RESULT IS Fuckin' FIERCE!! ::::::::::::::


Drama, Character. It's what halloween is all about.

HAPPY HALLLLOOOWWEEEEENNnnnnnn!
Xoxoxox
*
Fabrics by:::
The Bamboo Fabric Store, see here.
Near Sea Naturals, see here.
*

Thursday, October 28, 2010

DIY: Sew An Organic Sweater (with hoody!)

Armed with some sustainable Organic Cotton Fleece and Bamboo fabric I decided to take the challenge of making my own organic sweater for the winter. Organic clothing can be really pricey, most times far out of the range most people want to spend and when it comes to organic cotton winter wear it's even worse...although worth the $$$ to those with sensitive skin, chem sensitivities or eco minded ethics, sometimes we just can't pay $100 to stay warm.
This is why DIY sewing skillz can be a big money saver, not to mention a lil' creative fun. I am not the best at sewing to be honest, each project is a lesson...
so here is what I learned & how I did it....
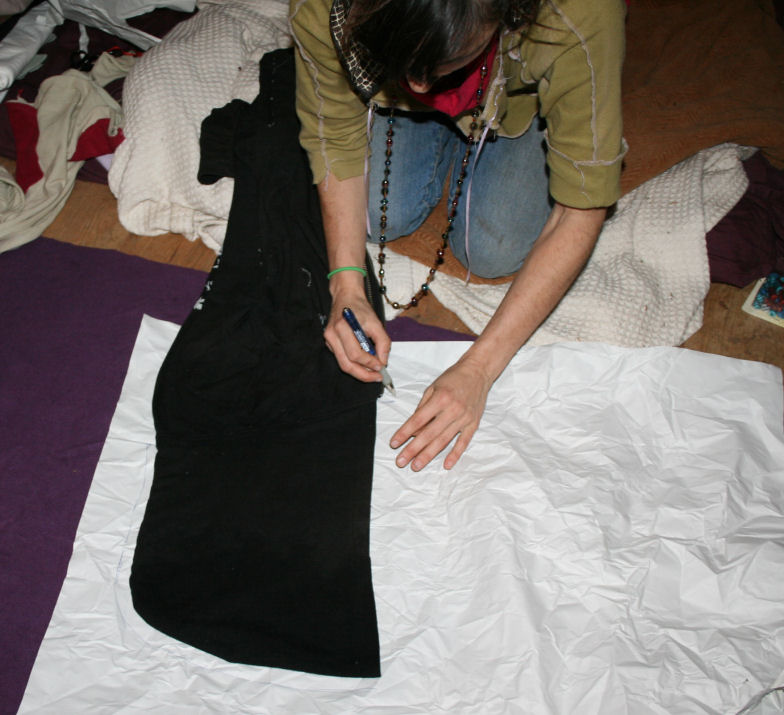
I took a shirt I made a few years ago, and used it to make a new pattern.
When making a pattern from a garment you already own here are two important tips:
  • Make sure to trace extra room at all the seams where you will be sewing (see pic below)
  • Check for differences in the fabric, like stretch vs. not so stretchy and adjust accordingly


Once you trace your pattern cut it out with scissors.
I cut out the body part and the sleeves separate, because I planned on sewing them together later.
THE HOODY ::::
Making a hoody is actually super easy, like making a basic pillow!
Trace a hoody you already have, which will make a pattern for one side of the hoody. Both sides will match and be sewn together.
You can always test the paper pattern on your head to make sure it will fit, and to see how long the neck part may need to be to meet the back of your sweater.
Lay out all your pieces on the fabric and make sure you have enough. I ended up not having enough purple organic cotton fleece for the hoody and used more bamboo fabric instead.
To make cutting out the pattern you made easier, pin it down to the fabric. I totally hate this part for some reason and always try to find ways to get out of it... but it never turns out right without those pins holding it right in place.
Once the pins are in, you can cut out the fabric pieces that will be sewn together.
I doubled the fabric so that I could cut out the back and front of the sweater all together.
I then took my sweater cut outs, and pinned them to the bamboo fabric I wanted to use as a warm smooth lining inside the organic cotton sweater.

TIME TO SEW ::::
I made the sleeves separate, and after sewing together the seams for the body part of the sweater, i added on the sleeves.
I did a tight zig zag stitch on the outside of the sweater so that it could have that cute handmade look.
The hoody got cut out and sewn on last....
END RESULT #1 ::::
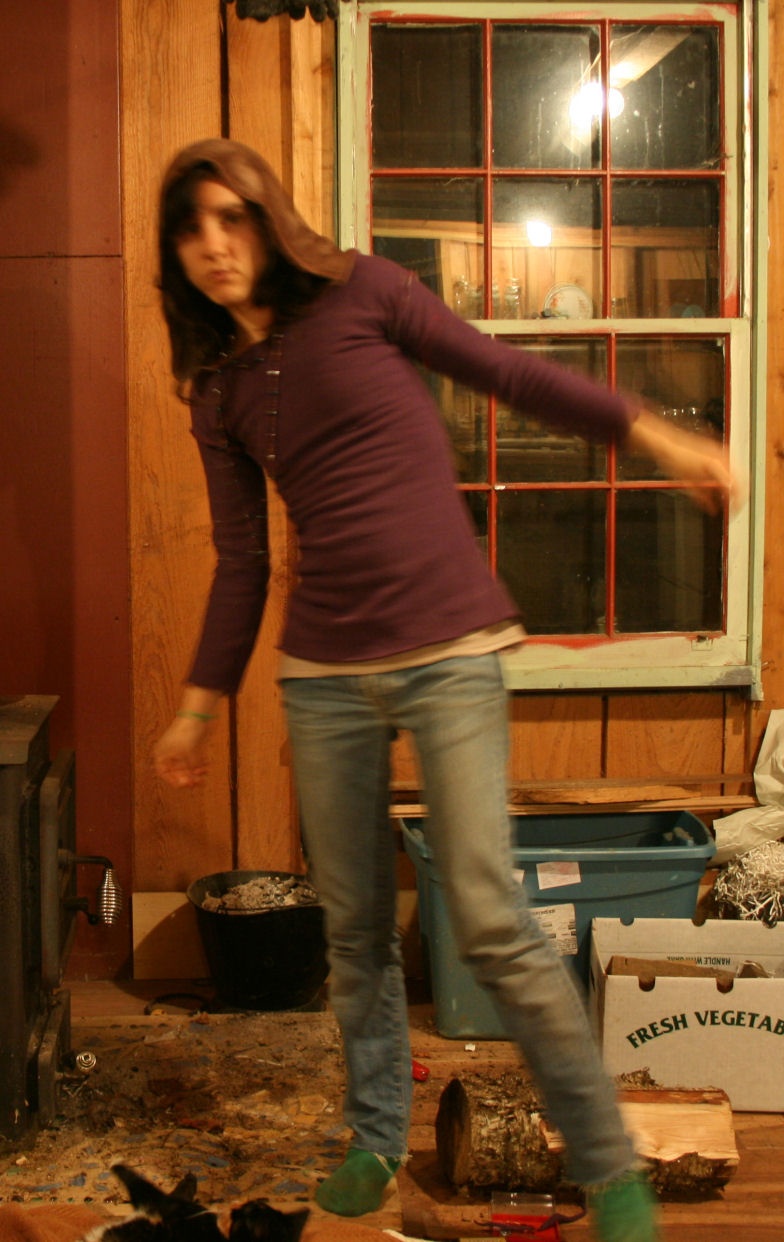
The sweater is SO amazingly soft and warm, but was feeling a little tight because the fleece didn't have much stretch... (some organic cotton does and some doesn't, bamboo typically stretches.)I could have taken out the inner seams and loosened it up, but then i got another idea!!!
NEW IDEA! :::::
I cut down the entire front of the sweater and sewed some zig zag seams along those sides to hold in the bamboo lining.
Then I took the bone awl Urban Scout made me (see pic below) to punch holes evenly along those seams.
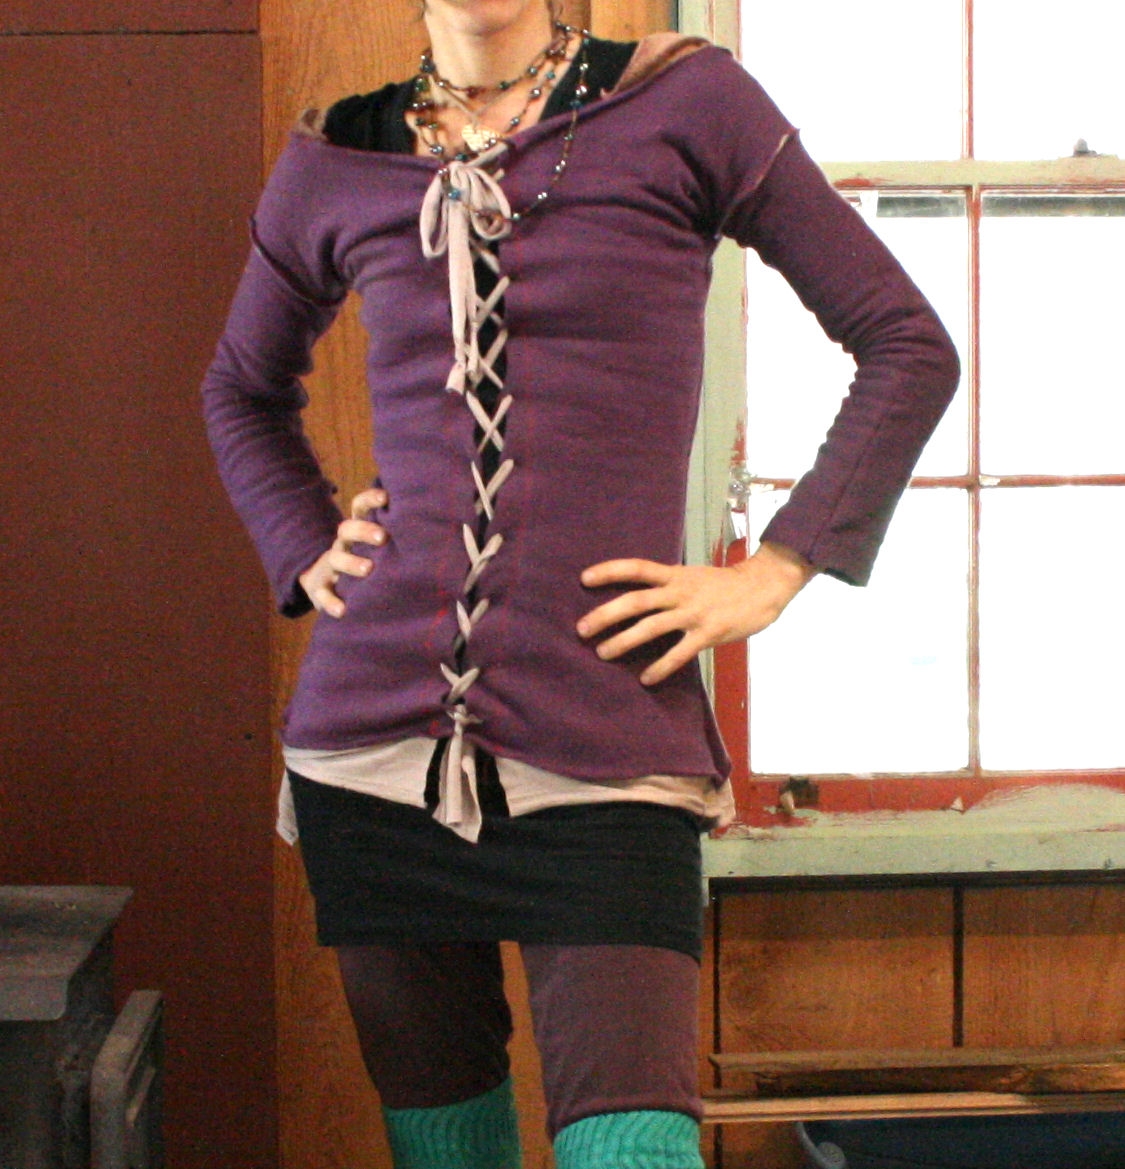
I used the bamboo lining scraps to create a corset, lace up front for the sweater that way the size could adjust with my needs.
ADorabLe & SeXy!! It has a hardcore fairy feel to it now, and I like it even better. :)))
END RESULT #2 :::
Yes? Yes!
Xoxoxoxoxoxo
*
FABRICS BY :
The Bamboo Fabric Store, see more.
Near Sea Naturals (who now carry Spiritex local organic cotton), see more.